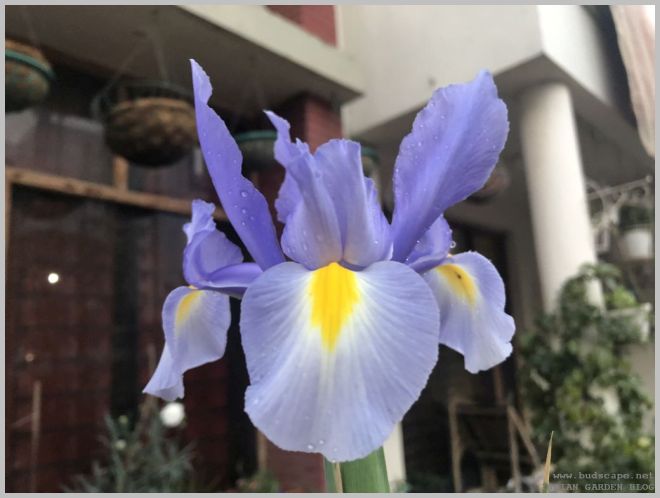
The star performer in the garden this year, was undoubtedly Iris. It came up quickly and stayed for long, producing bloom after bloom leaving everyone in awe! I have never been so much in love with Iris before but this year, i definitely wanted to save the bulbs after it had finished flowering. Such good varieties are hard to come by! I wasn’t sure if the bulbs could be propagated in our weather but i was in for a pleasant surprise!

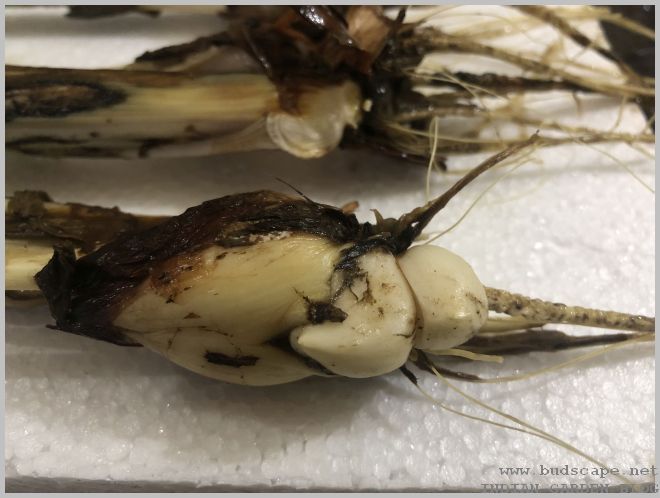
- Upon digging the Iris bulbs carefully, i discovered ( to my delight) that they appear to be forming bulb-lets around the main bulbs!
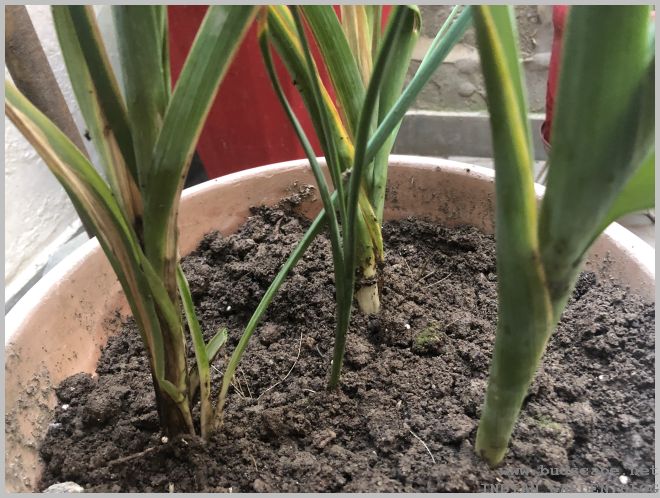
- I chose a shaded spot in the backyard and tilled a pot of soil with sand and some compost.
- Sand helps with drainage & prevents bulbs rot.
- Compost is essential for healthy bulb formation.
- Make sure that winter flower bulbs, specially non-native ones do not get direct summer sun or they will die rather than multiply.
- Since the bulbs could not be divided yet, i simply cleaned them a bit and replanted.
- Do not force apart the bulb-lets if they are very small and not have any leaves attached. It means they are still a part of the main bulb. I found it better to let them grow as they were.
- Once the foliage dies off, i will be digging out the clumps & then separate them gently before storing for the next season.

PROPAGATE IRIS BULBS
IRIS BULBS MULTIPLYING

HAPPY GARDENING 🙂
JOIN OUR GARDENING COMMUNITY ON FB FOR MORE TIPS AND TRICKS!